Vintage Dress form Card Tutorial
Make beautiful blank cards before you need them. Saves time and money! Learn how now.
“Make ahead of time to use when you are ready”
Learn how to use shrink plastic and stamps to create this lovely dress form card!
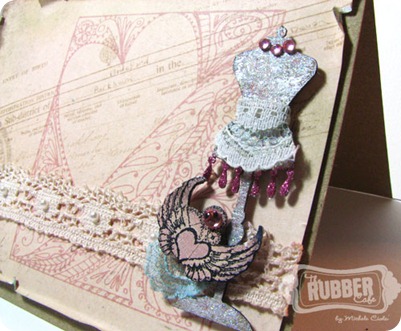
This year I created a stash of beautiful layered cards ahead of time to use as needed. One thing I didn’t have yet though was a great set of all purpose cards. So I got to work.
I wanted a set of beautiful blank cards that looked like I spent hours making them. Looks can be deceiving though, especially when making cards in bulk. Making embellishments ahead of time and putting them together in an assembly line speeds up the process.
The result is a stash of beautiful cards to use saving a lot of time and money in the long run.
Dress form Card Products
using stamps and shrink paper to create fun embellishments
* As an Amazon Affiliate I earn from qualifying purchases *
Dress Form Stamp
32 Color Glitter Set
Shrink Film
dress form card tutorial
Step by step instructions for making beautiful shrink plastic dress form cards
1. Prepare and stamp shrink plastic
I like to start with the fun part first so I took my shrink plastic and painted it with a neutral acrylic paint then let dry. Next, I stamped vintage images on top of the paint and waited for the ink to dry.
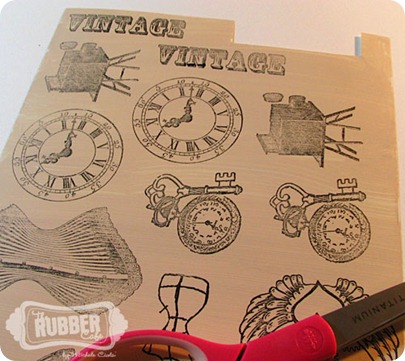
Using a heat tool and following the instructions carefully, I shrunk the plastic. The paint dried and created this lovely vintage crackled texture on the surface. It is perfect!
2. decorate shrink plastic

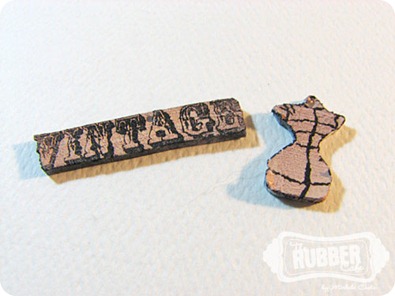
Once cooled, I added modge podge to seal the paint and then started to decorate the pieces.
Using glue and glitter, I highlighted various areas and even added bling and lace to complete the look.
Get creative! This is the fun mayhem part.
3. stamp background and adhere embellishments
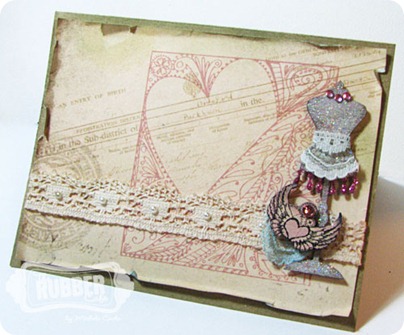
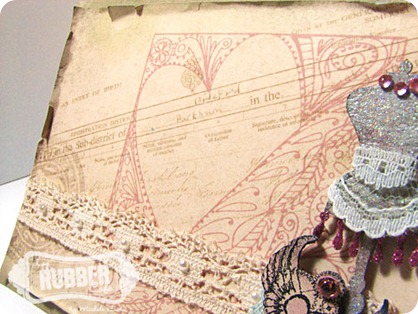
Using kraft cardstock as my base, I stamped over a neutral vintage background paper in a deep rich red to add a pop of color. I love to make custom background paper for my personalized cards.
For the final step, I adhered the embellishments. Doing this in an assembly line was so easy.
What a great vintage vibe!!
bonus tip:
Lay a piece of wax paper on top of the shrink plastic after heating and then press an acrylic block over the plastic while it is cooling. This will help keep the plastic from curling as it dries.
I hope you’ve been inspired to get those extra cards for your stash.
You just never know when you might need one in a pinch.


Michele, I LOVE EVERYTHING about your card!! It's So GORGEOUS!!! I love all of the little details, soft colors, the trims and glitter you used on the dress foam and WOW LOVE the shrink art technique–that is SO COOL!!! Love the crackle look!! Going to try this for sure!!! Hugs♥
I am in love with vintage and you have really nailed it for sure.
Thanks for your funny comment during your visit-Send me your address and the heart is yours-Chocolate and all!
WOW..love the design of your dress form card…gorgeous! I love the vintage stamps 🙂 Thanks for your sweet comment on my Really Reasonable Ribbon projects 🙂